The safest way to create an MRPACK file is to start from a clean, working Minecraft modpack instance and export it with Modrinth-aware metadata. A valid .mrpack is not just a renamed ZIP. It needs a root modrinth.index.json manifest, declared Minecraft and loader versions, file download references or bundled overrides, and enough testing that another player can import it on a fresh machine.
Quick decision: if you are making a private pack for friends, use a launcher export workflow and test it in a blank profile. If you are publishing on Modrinth, also check permissions, unsupported files, client/server rules, and whether each dependency has a clean source. If you already have a generic ZIP, read the ZIP to MRPACK guide before assuming it can become a valid Modrinth pack.
What a created MRPACK file must contain
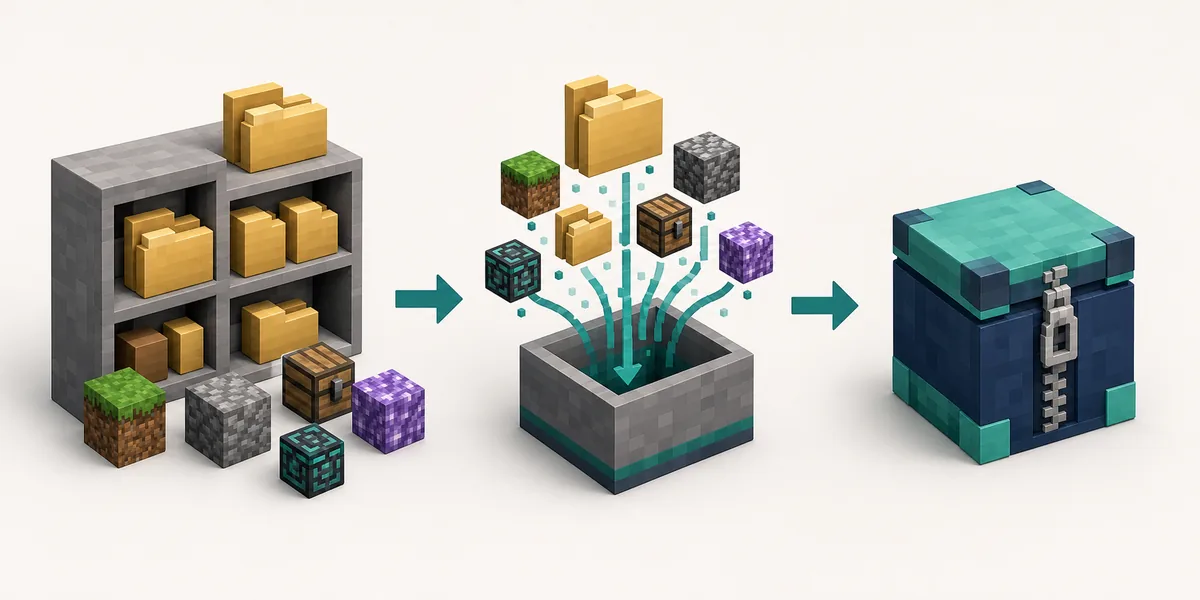
Modrinth describes the MRPACK format as a ZIP-based archive with the .mrpack extension and a root manifest named modrinth.index.json. That manifest is the reason a launcher can rebuild the pack instead of guessing which folder should go where. It declares the pack metadata, dependencies, files, hashes, download URLs, and override behavior. You can compare the details with Modrinth's MRPACK format documentation and this site's modrinth.index.json field guide.
Think of the finished file as a recipe plus a small bundle of local files. Some packs include only configuration and metadata because launchers download the mods from the sources listed in the manifest. Other packs include more files in overrides, especially configs, resource packs, shader settings, or files that should be copied directly into the instance.
| MRPACK part | Creator job | Common mistake |
|---|---|---|
modrinth.index.json |
Declare pack name, version, dependencies, files, hashes, downloads, and environment rules. | Exporting a ZIP with no manifest or a manifest that points to local-only files. |
| Dependencies | Lock the intended Minecraft version and loader such as Fabric, Forge, NeoForge, or Quilt. | Testing on one profile while the manifest declares another loader or version. |
overrides/ |
Include configs, resource packs, shader settings, default options, or other copied files. | Putting all mod JARs into overrides instead of using clean download references. |
| File hashes and downloads | Use stable sources and verify that each referenced file resolves during a fresh import. | Leaving broken URLs, private drive links, or mismatched hash values. |
| Client/server rules | Separate client-only files from server-relevant files when the pack needs both use cases. | Shipping client-only UI, shader, or voice-chat files into a dedicated server path. |
Choose the right creation workflow
There are three practical ways to create an MRPACK file. The right choice depends on whether you are a normal pack author, a technical maintainer, or someone converting a messy ZIP into a cleaner package.
1. Export from a clean launcher instance
For most players and small pack creators, this is the least risky route. Build the pack in a launcher that understands Modrinth packs, install only the mods and config files you actually want, remove personal saves and caches, then export the pack. Modrinth's help center explains that creators can use the Modrinth App to create and share modpacks, while other launchers may also support importing or exporting Modrinth pack files.
This route works best when the pack is already playable and all mods come from normal public sources. It is not a license shortcut. Before public sharing, check Modrinth's modpack permissions guidance and remove files you are not allowed to redistribute.
2. Use a pack management workflow for repeatable exports
If you maintain a pack over time, use a repeatable workflow rather than editing random archives by hand. A tool-managed project makes it easier to update versions, track dependencies, regenerate hashes, and produce the same export again after a mod update. This is especially useful for teams, server communities, or packs that need both client and server variants.
In this workflow, your source project is the durable record. The final .mrpack file is an export artifact. Keep notes about Minecraft version, loader version, optional mods, configs, and any files that are deliberately excluded from public distribution.
3. Rebuild from an existing ZIP only when the metadata is recoverable
A normal ZIP modpack can become an MRPACK only when you can rebuild the Modrinth metadata correctly. A CurseForge export, a server folder, or a hand-built .minecraft folder may contain useful files, but it usually does not already contain Modrinth's manifest structure. That is why a simple extension change from .zip to .mrpack fails.
Use the existing ZIP as source material, not as the finished package. Identify each mod, confirm which platform and version it came from, map configs into overrides, declare the exact loader, and test the result as if another user had never seen your original folder.
Step-by-step: create a clean MRPACK
Step 1: Start with a clean pack profile
Create a new instance for the exact Minecraft version and loader you intend to support. Avoid building from a long-used personal profile because old logs, screenshots, saves, disabled mods, duplicate configs, and experimental files can leak into the export. Launch the profile once, confirm the game reaches the menu, then close it before adding more files.
Step 2: Add mods deliberately
Add mods from the sources you are allowed to use. Keep a short changelog while building: mod name, version, loader, and why it is included. That small list makes troubleshooting easier when a dependency breaks later. If a mod exists only as a local file, decide whether it belongs in the pack at all. Private files, paid files, unknown mirrors, and rehosted JARs are common reasons public pack exports get blocked or become unsafe.
Step 3: Separate overrides from downloads
Put configuration and copied files into the correct override structure. Typical override candidates include config/, resourcepacks/, shaderpacks/, defaultconfigs/, and menu/options files when they are intentional. Do not blindly include logs/, saves/, crash-reports/, cache folders, launcher metadata, authentication files, or local screenshots.
Step 4: Export or generate the MRPACK
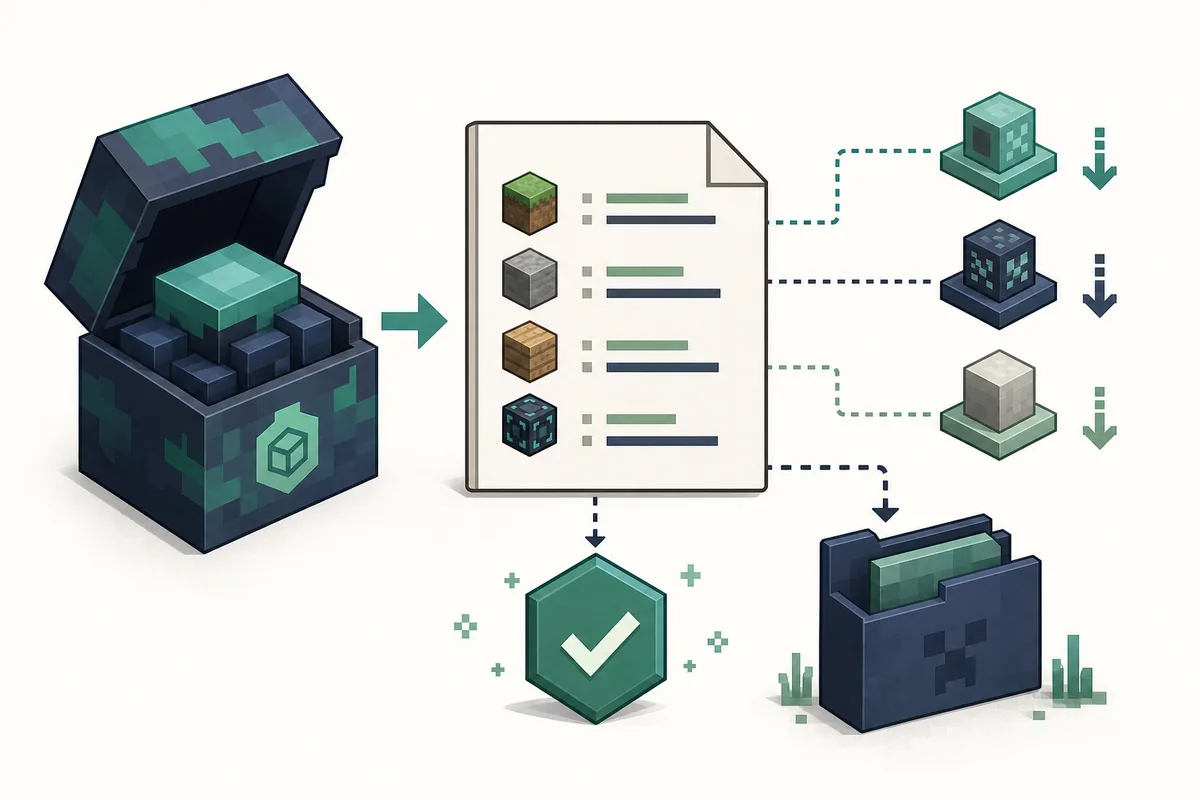
Use your chosen launcher or pack workflow to create the .mrpack. The output should include modrinth.index.json at the archive root. If you want to inspect the result without installing it, use the MRPACK Reader to view dependencies, files, downloads, hashes, and override paths directly in the browser.
Step 5: Test import in a fresh environment
Do not trust an export just because the source profile runs. Import the finished .mrpack into a fresh launcher profile or a separate testing environment. This catches missing downloads, broken hashes, local-only paths, wrong loader versions, and configs that only worked because your original instance had leftover files.
Pre-publish checklist
Before sharing the file, run a checklist that covers both technical validity and distribution safety. This is where many created MRPACK files fail: the creator tested the pack on their own machine, but never tested the archive as a new user would receive it.
Once the exported pack passes a fresh import, continue with the Modrinth modpack upload and permissions guide. It covers project creation, version metadata, the 2026 external-content permissions flow, withheld releases, and the final publishing checklist. If you are revising an existing pack rather than creating its first release, follow the guide to updating a Modrinth modpack to a new version before exporting again.

| Check | Pass condition | Fix if it fails |
|---|---|---|
| Fresh import | The exported file imports into a clean profile without manual file copying. | Rebuild the manifest or add missing override files deliberately. |
| Loader and Minecraft version | The manifest matches the loader and Minecraft version you actually tested. | Update the dependencies and retest the pack from scratch. |
| Downloads and hashes | Each referenced file downloads and verifies successfully. | Replace broken sources, regenerate hashes, or remove unsupported files. |
| Permissions | Bundled or redistributed files are allowed under the relevant rules. | Use supported download references or remove files you cannot distribute. |
| Client/server split | Client-only files do not break a server install, and server-needed files are present. | Prepare separate server instructions or use environment rules correctly. |
Common MRPACK creation mistakes
Renaming a ZIP is the most common mistake. It creates a file with the right extension but not the right metadata. A launcher needs the manifest and file rules, not just a compressed folder.
Exporting personal clutter is another frequent problem. Saves, logs, crash reports, launcher tokens, screenshots, disabled mods, and old config experiments can all leak into a pack when the source profile is messy. Start from a clean instance and review the archive before publishing.
Skipping a fresh import test hides broken downloads. Your original instance may already have the mod files, so it can run even when the export cannot rebuild itself. A fresh import is the quickest way to catch broken URLs, missing dependencies, or mismatched hashes.
Ignoring server behavior creates support work later. If your pack is likely to be used on a dedicated server, test the server path separately or link readers to the MRPACK server install guide. Some files are fine for a client but wrong for a server.
When creation is the wrong approach
Sometimes the right answer is not to create a new MRPACK at all. If you only want to inspect a downloaded pack, use the reader or convert the existing pack to ZIP. If your goal is to install a downloaded file, follow the MRPACK installation guide. If you want to move a Modrinth pack into a launcher that does not support MRPACK directly, use the MRPACK to ZIP converter and inspect the output before copying files.
Create a new .mrpack when you are the pack maintainer, when you can verify file sources and permissions, and when you have tested the exported package as a new user would see it.
FAQ
How do I create an MRPACK file?
Build a clean Minecraft modpack instance, export it with a Modrinth-aware workflow, confirm that modrinth.index.json exists at the root, and test-import the final .mrpack in a fresh profile.
Can I make an MRPACK from a CurseForge ZIP?
Sometimes, but not with a simple rename. You need to map the source pack to Modrinth-compatible metadata, verify file permissions, rebuild dependencies and hashes, and test the result. The MRPACK to CurseForge guide explains the opposite direction and why launcher formats do not always translate cleanly.
Should mod JARs go inside overrides?
Usually no. Overrides are best for files that should be copied into the instance, such as configs or resource packs. Mods should normally be represented through clean file entries and download references when the workflow supports that.
How can I inspect the MRPACK I created?
Open it with the MRPACK Reader or a ZIP tool and check the root manifest. The reader is safer for non-technical users because it shows dependencies, files, downloads, hashes, and overrides without requiring manual JSON parsing.
Need to inspect or convert an MRPACK?
If someone sent you an .mrpack and you are not sure what is inside, inspect the manifest first or convert it to a ZIP for manual review.